Reviewed by Clinton Funk
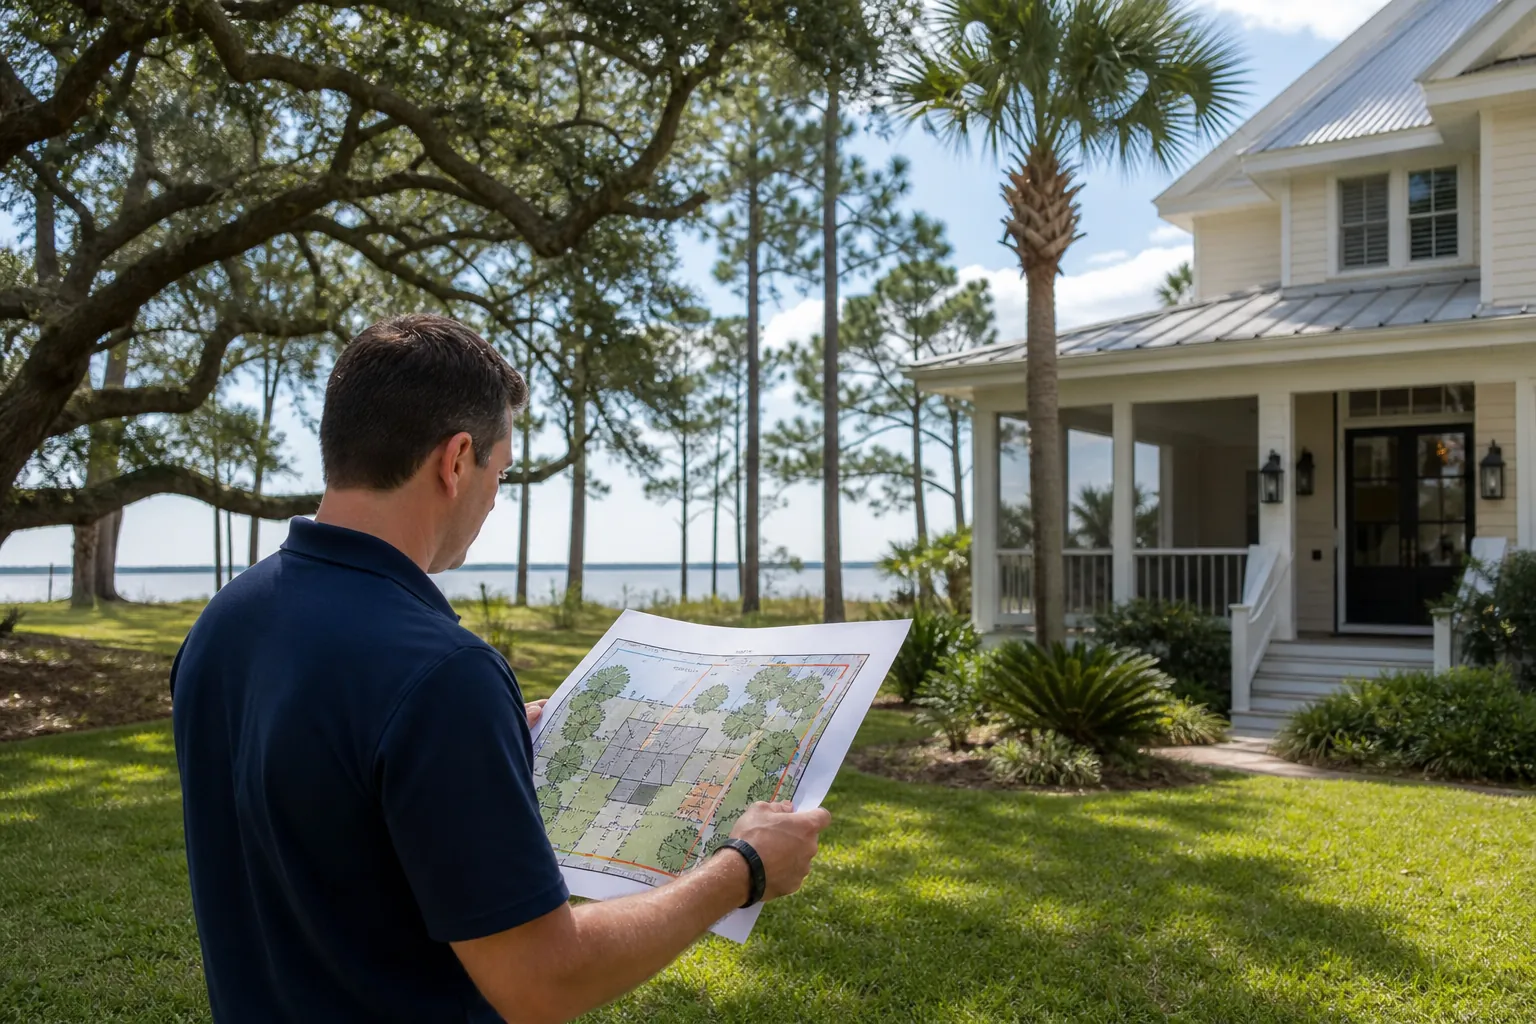
Hurricane yard maps turn scattered notes into one clear picture for professional cleanup. Sketch the house, mark viewing points, and label blocked or unseen areas. Record known utility features without guessing buried routes. Build the map from existing knowledge and permitted views, without entering damaged zones or treating photos as safety checks.
This Pensacola guide focuses on the map itself, rather than cleanup methods. Its purpose is to show what was seen, where it was seen, and what remains unknown. The finished sheet supports a professional assessment without trying to replace one.
What should hurricane yard maps show first?
Start with fixed landmarks, then add short notes about visible storm debris. Keep observed facts separate from proposed work and unresolved concerns. Pair the map with clear tree damage records and a defined tree cleanup scope. Each serves a different purpose when planning staged professional work.
Draw a plain outline of the house near the page center. Add the street name along the correct edge and label the backyard. These simple anchors help readers match your sketch to the property without needing exact scale.
Include known fixed features such as the garage, fence, pool, and shed. Show their rough positions, rather than measuring through damaged ground. Write “rough sketch, not to scale” near the title so spacing isn't mistaken for measured clearance.
Give each observation a short code that can follow it through later notes. For example, D1 could mean visible debris beside the garage. U1 could mean a utility feature whose location you already know.
- Label the street and house so readers can orient the page without guessing.
- Give each visible debris area one code that stays the same across updates.
- Use plain words beside symbols so the map still works without color.
- Write the observation time and viewing point beside each new yard note.
A useful map records less than a full site survey. It doesn't need every branch, flower bed, or garden ornament. Include features that explain location, limit the view, or help define the cleanup area.
Use a short title such as “Yard observations, version one.” Keep older sheets instead of erasing the record. A changed note should show what changed, not suggest the first view was complete.
This keeps the map distinct from a work plan. The homeowner records visible conditions; the professional assesses them and defines the work.
How should viewing points and blocked areas be marked?
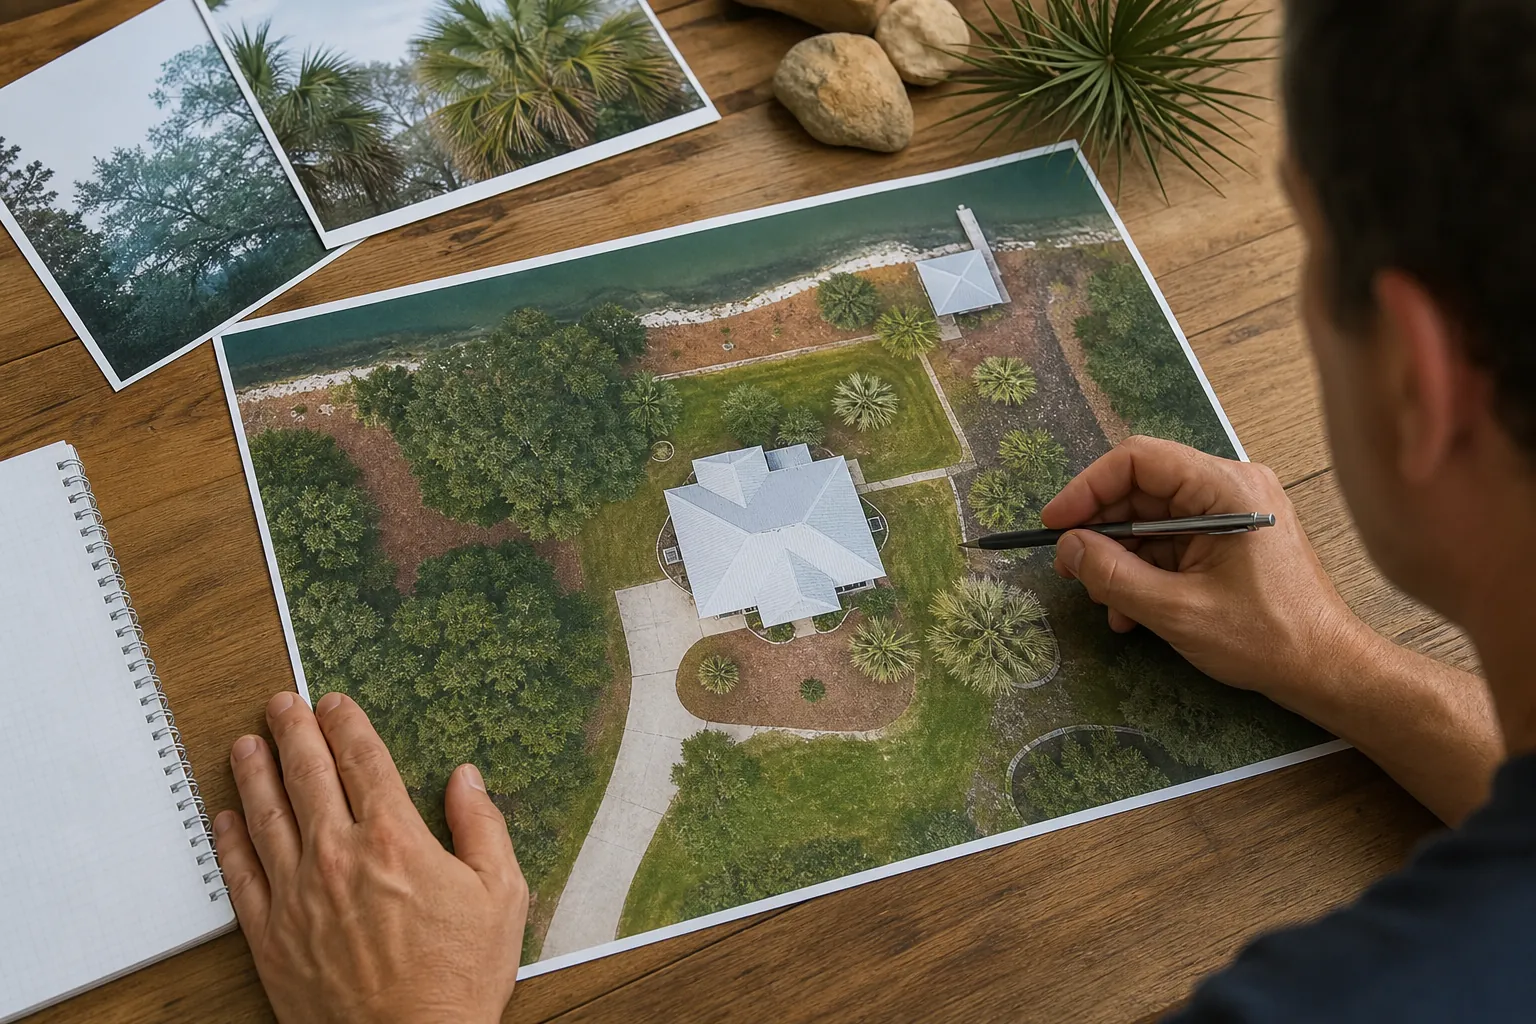
Mark where each observation came from, not where someone should walk next. Use separate labels for viewing points, blocked spaces, and places outside the view. Guidance on porch-based tree observations and waiting for tree help adds context. Neither a map nor a photo establishes safe access.
A viewing point is simply the spot from which a note was made. Label it V1 or V2 and describe it in familiar terms. “Inside front window” tells the reader more than a dot with no explanation.
Don't mark a porch, driveway, or doorway “safe” based on its appearance. Instead, use “view taken here” and state any limits. The source of the view matters because one tree can hide another.
The National Weather Service's after-hurricane guidance says to return only when officials say it's safe. It also warns about downed wires, fallen objects, and weakened structures. A mapping task is never a reason to enter a damaged area.
Use a hatched shape for an area that appears blocked. Add a separate question mark for space you can't see. A blocked gate and an unseen side yard are different facts, even when they share an edge.
- Mark a blocked view when debris or a building hides the ground beyond.
- Describe a blocked entrance without drawing an alternate walking route through damaged areas.
- Leave unseen spaces labeled unknown instead of filling them from memory.
- Record the viewing point for each photo so its limits stay clear.
A blank patch can look like clear ground, so label it. “Not viewed from V1” is better than leaving that patch empty. If all views are limited, the map can still be useful.
Don't add green paths or arrows that look like approved access routes. Leave access decisions for an on-site professional assessment.
How do you show known utilities without guessing buried routes?
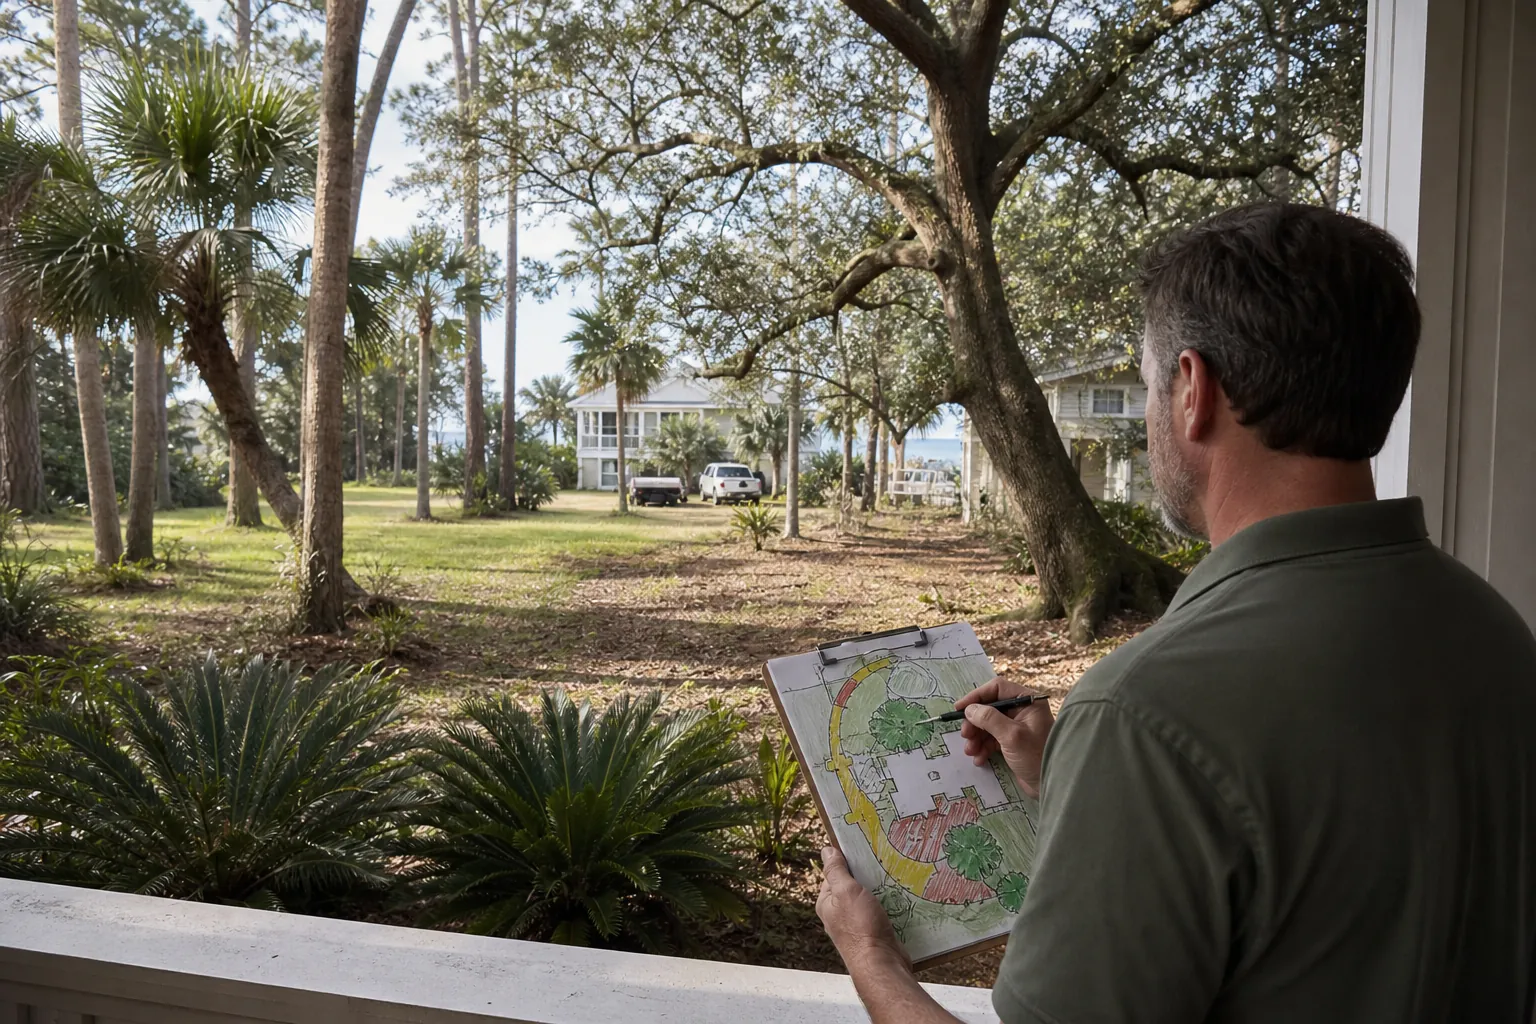
Show known utility features as points, with a note explaining the information source. Don't connect them with lines that suggest underground routes. Related guidance covers debris hiding meters and hydrants and trees touching service wires. Your sketch records features; it does not locate buried services or confirm their condition.
A meter, outdoor unit, or known irrigation control can help orient the map. Label the feature by name and say how you know its location. Use “visible from V1” or “location from earlier yard record.”
Those labels describe different kinds of knowledge. An earlier record may identify a feature hidden by debris today. It doesn't show that feature's current state, so add “current condition not seen” where needed.
Keep buried routes off the sketch unless qualified work has established them. Even then, identify the source rather than presenting a hand-drawn line as precise. Two visible endpoints don't reveal the path between them.
Use a simple utility note with three parts: feature, source, and limit. For example: “U1, meter location from prior record; current view blocked.” This helps readers separate remembered location from direct observation.
Ready.gov's hurricane guidance says not to touch wet electrical equipment or equipment while standing in water. It also warns that underground or downed power lines can charge floodwater. Don't enter water or move debris to improve a utility note.
If a line-like object is visible, describe its appearance without naming its type. “Line-like object across rear view” leaves the question open. A photograph cannot establish what it is or whether it carries power.
Keep utility questions beside the related map code. Don't bury them in a general note at the bottom. A clear unknown is more useful than a neat line that suggests knowledge you don't have.
What worksheet keeps observations separate from assessments?
Use a small record table beside the sketch, with one row per map code. Separate visible facts, view limits, and items awaiting assessment. Link that sheet to professional storm tree assessment and details to share about tree damage. This makes the record readable without turning observations into findings.
The worksheet below shows how entries can look. These are sample notes, not reports about a Pensacola property. Replace them only with information you already have or can observe without entering damaged zones.
| Map code | Observed or recorded fact | Source and limit | Still unresolved |
|---|---|---|---|
| V1 | View taken through front window. | Only the front yard appears in this view. | Ground behind the garage is not viewed. |
| D1 | Branches appear beside the garage door. | Seen from V1; lower edge is hidden. | Full debris extent and access need assessment. |
| U1 | Meter location appears in an earlier record. | Current view is blocked by debris. | Present condition and surrounding space are unknown. |
| B1 | Debris appears across the side gate. | Gate viewed from the house window. | Ground beyond the gate is not viewed. |
| X1 | No current view of the rear corner. | The house blocks the available view. | No condition or access finding has been made. |
Each row should answer a narrow question about the record. What is the item, how was it observed, and what remains open? Avoid adding broad conclusions such as “tree stable” or “driveway clear for trucks.”
A photo number can fit in the source column. Keep the file name short and match it exactly to the row. For example, D1 can refer to photo D1 without adding a second code system.
Use “appears,” “visible,” and “not viewed” when those words fit the facts. They aren't filler; they show the limits of the observation. Keep professional findings in a separate column or attached note with their source.
How can a yard map support staged professional cleanup?
A map can group work discussions without setting the crew's order or methods. Show where concerns overlap, then leave the work sequence subject to assessment. Resources on planning around multiple downed trees and preparing for a tree crew visit support that distinction. The map is a shared reference, not an instruction sheet.
Staging means dividing the cleanup plan into parts that can be reviewed together. Your map can name those parts without directing any physical work. For example, “front entrance discussion” describes a location, not permission to clear it.
Use the following sequence to assemble the information. These are desk-based steps for the record, not steps for moving debris. No part requires cutting, pulling, climbing, or checking a hidden utility.
- Place the sketch and worksheet together so each map code has one matching record.
- Group related codes by yard location without ranking hazards from a distant view.
- Highlight notes involving unknown utilities, blocked views, or an entrance covered by debris.
- Leave space for professional findings about access, work limits, and the cleanup sequence.
- Record the agreed scope separately, keeping unresolved areas clearly marked on the map.
Suppose D1 marks debris near a garage and U1 marks a hidden utility feature. Keeping those codes close on the sheet shows a possible planning overlap. It doesn't establish clearance, equipment access, or a way to remove the debris.
Likewise, a wide-looking driveway isn't a confirmed truck route. Draw the driveway as a fixed feature, then label access “not assessed.” Don't use arrows that imply a vehicle can pass beneath branches or beside damaged trees.
Ready.gov advises following local officials' information and special instructions after a hurricane. Keep those instructions separate from the cleanup sketch. A private yard map doesn't replace public directions or change restrictions affecting the area.
The result is a clearer handoff. The crew sees locations and gaps in the record, while the work plan remains based on assessment.
How should the map change as work progresses?
Update the map by version, keeping original codes and recording the source of each change. Separate completed work from newly visible areas that still need assessment. Use later yard recheck notes alongside the written cleanup scope. A change in visibility does not establish that an area is safe.
When debris is removed, an unknown area may become visible. Change its label from “not viewed” to a factual description with a source. Don't change it straight to “clear” or “ready for use.”
Keep each code tied to the same location. If D1 covered branches beside the garage, it should retain that meaning later. Add a new code for a new observation instead of recycling an old one.
Use short update notes that explain the change. “D1: removal reported complete within agreed scope” is more precise than “all done.” It leaves room for remaining trees, utility concerns, or ground conditions outside that scope.
- Save the earlier map before adding changes from a later observation or work update.
- Name the source of each change, such as a crew note or window view.
- Carry unresolved utility notes forward until an appropriate assessment addresses the specific issue.
- Keep newly visible areas separate from areas covered by completed work.
If the sheet becomes crowded, make a clean copy with the same codes. Keep a short change log at the bottom. This preserves the record without forcing every later reader to decode crossed-out text.
A final map can show completed scope, open items, and areas never viewed. It doesn't need a blanket statement about the whole yard. A narrow, accurate record is more useful than a complete-looking map built on guesses.
Florida Foliage is headquartered in Daytona Beach. This article provides educational Pensacola guidance and does not state local crew presence or availability. For an estimate request, share the map as a location guide rather than a completed assessment.
Does the yard map need exact measurements?
No. A rough sketch can show locations without exact dimensions. Label it “not to scale” and use fixed landmarks for reference. Don't enter damaged areas to measure gaps or debris. Any dimensions needed for professional work should remain unconfirmed until assessed through an appropriate process.
Can an old yard plan serve as the base?
Yes, if you label it as an earlier record. Use it for fixed features, then add current observations as a separate layer. Old utility notes don't establish present conditions or buried routes. Mark any feature hidden from the current view as unconfirmed rather than copying it without comment.
Should photographs replace the annotated sketch?
No. Photos and sketches serve different roles. A photo records one view, while the sketch explains where that view belongs. Match each image to a map code and viewing point. Neither format can establish safe access, tree condition, or hidden ground conditions from appearance alone.
What if most of the yard cannot be seen?
Mark the unseen areas as unknown and keep the map limited. A sheet showing the house, street, available views, and gaps can still help. Don't seek another view through damaged zones. The missing information belongs in the professional assessment, not in guesses added to complete the drawing.
Who decides the actual cleanup order?
The professionals assessing the site determine the work sequence for their scope. Your map helps them match notes to locations and spot missing information. It doesn't rank every hazard or approve equipment routes. Keep proposed stages separate from confirmed work details so the distinction remains clear.
Call (386) 481-7913 to request an estimate.
AI helped draft this article and create its images. The text offers general guidance; it cannot establish the condition of a tree or work area.
Call (386) 481-7913 to talk through next steps.